


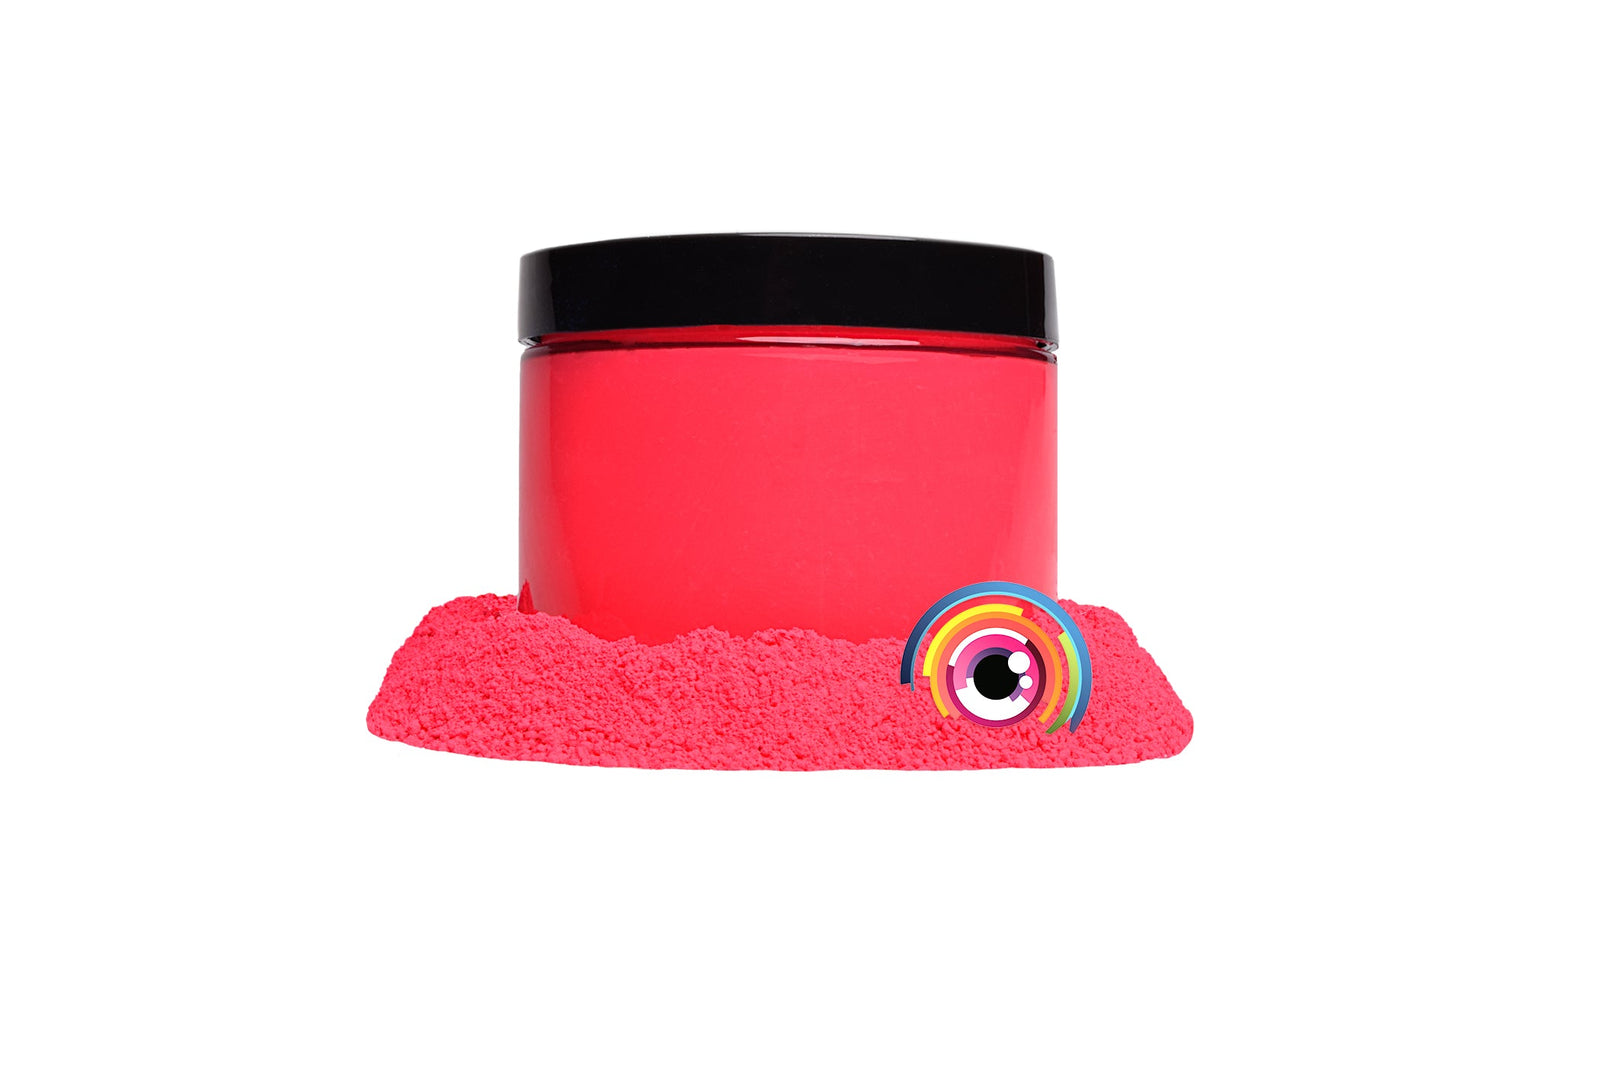

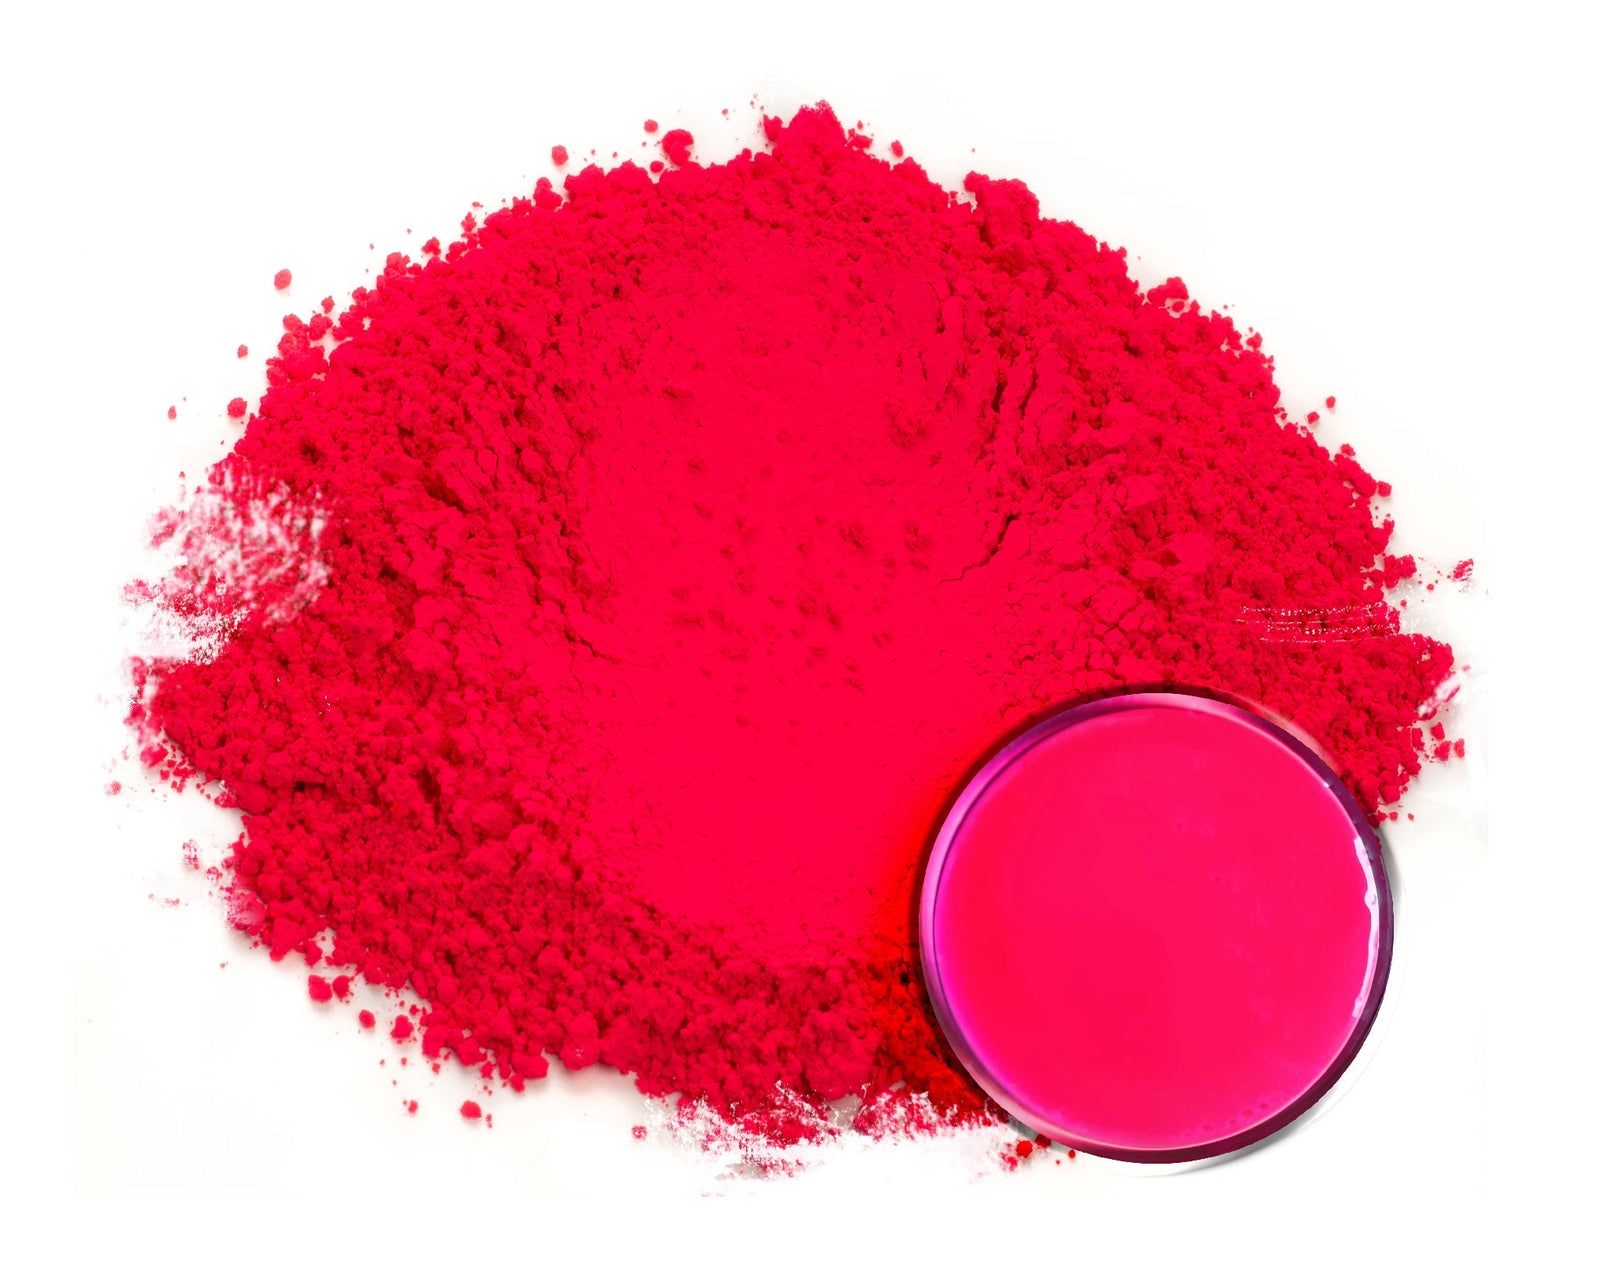




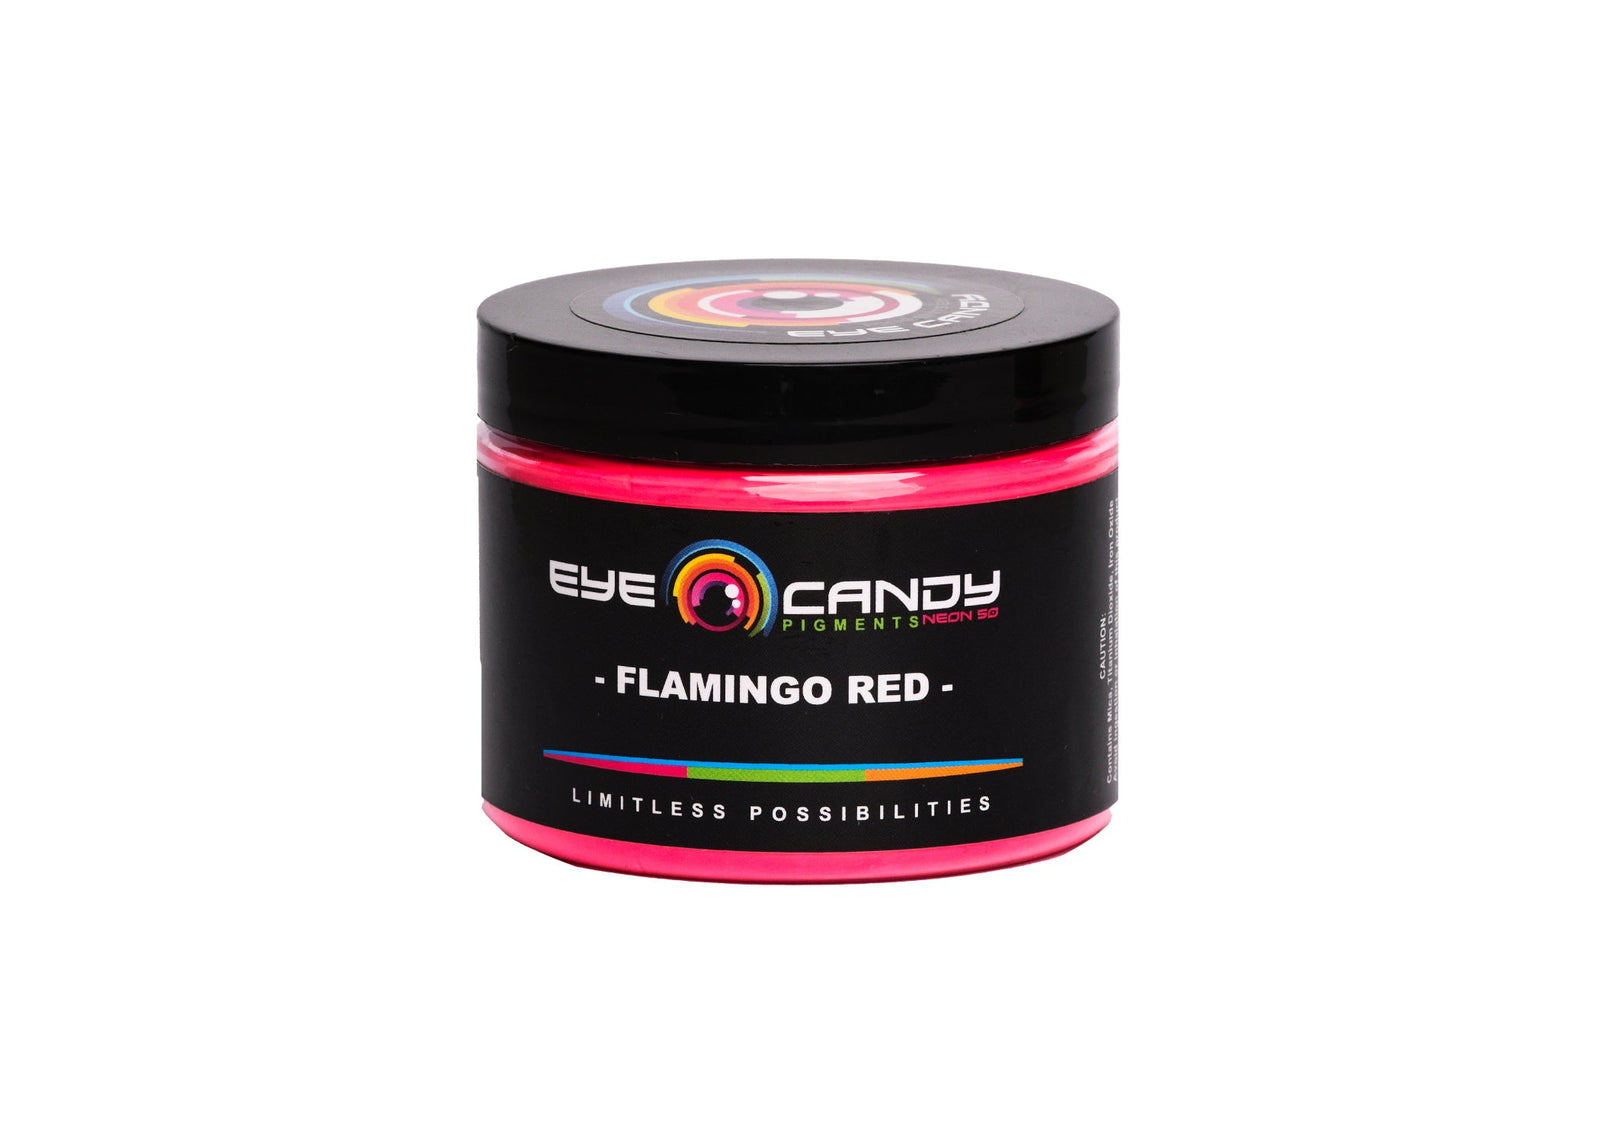


Flamingo Red
$6.00 - $15.99
ALWAYS TEST BEFORE FULL APPLICATION
DESCRIPTION
Flamingo Red is a beautiful bright red pinkish pigment and part of our Neon Series line. Our popular mica powder is ideal for DIY craft use, such as, epoxy, resin, woodworking, pen blanks, plastics, slime, watercolors, cosmetics, fishing lures, bath bombs, jewelry, melt and pour, lip balm, acrylic, polish, candle making, and MUCH more.
INGREDIENTS & PARTICLE SIZE
Particle size 1-5 μm
Ingredients Polyurethane-11, Red 7
Heat Threshold 500 °F
MIXING TIPS FOR NEONS
Are you having a difficult time mixing the pigments or just find yourself stirring and stirring? Or even worse, finding tiny specs in your finished product? This is mostly the cause of not mixing and breaking down the pigment enough.
Due to the granular nature of specialty pigments such as neons, glow in the dark, etc. these pigments are typically a little more difficult mix and breakdown.
If this is the case, place the pigments in a small cup, use denatured alcohol and wet the pigments, stir until it has a consistency of a paste. Stir until they break down.
We also have a very short video showing the process HERE
ADDITIONAL DATA
| Product Type | Mica |
| Vegan | Yes |
| Soaps | Yes |
| Epoxy Resin | Yes |
| Acrylic | No |
| FDA-Permitted for External Use | No |
| FDA-Permitted for Eye Area Use | No |
| FDA-Permitted for General (Including Lips) Use | No |
| FDA-Permitted for Bath Bombs Use | No |
We are always asked if our pigments can be used for cosmetic purposes. Below you will find some additional information on FDA Regulations.
FDA: Fact Sheet: Color Additives and Cosmetics
FDA: Color Additives Permitted for Use In Cosmetics
EPOXY RATIOS
| Epoxy | 2 grams per 8 ounces |
The most common question that we receive is "How much pigment per gallon of epoxy?". This is a very valid question and unfortunately there is no set answer due to the numerous types of applications and variations. This is why we recommend the 2 grams per 8 oz and add as desired.
For example:
- Are you looking for an opaque or transparent look?
- Lighter colors may take more pigment to achieve the color.
Why micron sizes matter:
- PLEASE be aware of the micron sizes of the pigment. The larger the micron, the larger the particle.
- Typical pigments average 10-60um.
- Be aware that larger micron sized pigments will most likely have a heavier density which will cause the pigment to sink faster in fresh epoxy such as deep pours.
- For example, our Icicle or 14k Nugget Gold is 200-700um and will most likely sink in fresh epoxy faster.
- To alleviate sinking either let the epoxy settle up a little bit. Or, come back through your project to "stir" it a little more.
SOAPS RATIOS
| Soap - Cold process | 2 tsp per lb of oils |
| Soap - Hot process | ½ tsp lb of MP base |
NOTE: Due to the white MP base, it will always create a pastel color.
AUTOMOTIVE / REMOVABLE PAINT RATIOS
DO NOT use for these applications. Neon pigments are not UV resistant and will fade over time under constant UV (sun) exposure.
ACRYLIC POURING RATIOS
ALL MEASUREMENTS BY VOLUME
Courtesy from our friend Justin Salley.
For more tutorial visit his Youtube page HERE.
STEP #1- MIX YOUR POURING MEDIUM
3 parts Behr8300 Deep Base Interior/Exterior Hi-Gloss Enamel. 1 part JOSONJA Polyurethane Water Based Gloss Varnish.
Mix gently folding paint and varnish together until they are completely mixed, Go Slow to reduce mixing bubbles.
STEP #2- DISPERSING PIGMENTS INTO YOUR MEDIUM
Pour 1/2 to 1 teaspoon of JOSONJA Gloss Varnish into mixing container. Add around a teaspoon of Pigment (I generally add a little more) into your container with the JOSONJA. Mix until all Pigments have dissolved into a liquid making sure to stir any clumps out at this time.
STEP #3- COMBINING YOUR POURING MEDIUM & DISPERSED PIGMENTS
Add around 3 Tablespoons of Pouring medium into your Dispersed Pigments. Mix thoroughly being slow and folding rather than whipping, this will minimize the air bubbles.
STEP #4- WHAT IF?
-If your new mixed color seems to thick- Add a small amount of JOSONJA and stir until you reach the desired consistency.
-If your new mixed color seems to thin- Add a small amount of Behr8300 (ONLY) and stir until you reach the desired consistency.
INDUSTRIAL, PLASTICS, & GLASS COATINGS RATIOS
| Vinyl Wrap And Plastic Films | 5-10% By Weight |
| Plastic Bottles | 1-2% By Weight |
| Masterbatch | 10-30% By Weight |
| Plastic Resins | 0.2-0.5% By Weight |
| Rubber Polymers And Latex | 5-15% By Weight |
| Glass | 1-10% By Weight |
| Candles | 5-10% By Weight |
GRAPHIC INKS & SCREEN PRINTING RATIOS
| Flexographic Inks (Packing Materials) | 15-25% By Weight |
| Offset Printing Ink | 5-10% By Weight |
| Screen Printing And Screen Inks | 10-30% By Weight |
| Textile Printing And Textile Inks And Pastes | 5-10% By Weight |
| Gravure Inks | 5-15% By Weight |
COSMETICS RATIOS
| Nail Polish | 5-25% By Weight |
FIREARMS (CERAKOTE) RATIOS
 Photo Courtesy: crawlinzx14 / Picture shows Eye Candy Colorshift over a black base.
Our pigments can be used for both Cerakote and KG Gunkote clears. Below is just some references.
- 5 grams of pigment per 4oz
- Typically recommend a black base. For light colored pigments such as yellows, pinks, etc. you may want to try a light colored base. ALWAYS test before full application.
- 3 coats for full saturation. Some colors may require less.
- Stay with pigments with a 10-60um micron size. All particle sizes are listed on our product pages or you can find it on our Pigment Information List HERE.
- Recommend using a .80 spray nozzle. Some use 1.0 for clears.
REQUEST SAFETY DATA SHEET (SDS)
To request a safety data sheet, please contact us here: Jeff@eyecandycustomz.com
DON’T TOUCH the shiny interior surface of the mold.
Touching, rubbing, or wiping the shiny interior can cause permanent scuffs or marks that may appear in your finished casting.
Cleaning Your Mold
Use Scotch tape to gently remove dust or loose particles. Lightly tap the affected area with the sticky side of the tape. Avoid rubbing or wiping the shiny interior surface.
Mold Release
Mold release is not required when using our silicone molds. However, using mold release can help extend the lifespan of your mold by reducing wear during demolding.
Important: Mold release may change the surface finish of your casting from high-gloss to matte or satin. If maintaining a glossy finish is important, we recommend avoiding mold release. If surface finish is not critical, mold release can be a great way to extend the life of your mold.
We recommend Ease Release 200. Always follow the manufacturer's application instructions.
Avoid Excessive Heat
Use EXTREME CAUTION with torches or heat guns when removing bubbles from resin. Excessive heat can damage the silicone and may cause the mold to tear during demolding. Consider using a light mist of isopropyl alcohol when appropriate for your resin system.
Allow Resin to Fully Cure
Always allow your resin to fully cure before demolding. Removing a casting too early can cause uncured resin to stick to the silicone and may damage or tear your mold.
Resin Safety
Always follow the resin manufacturer's instructions and recommended safety precautions, including appropriate ventilation and personal protective equipment.
Please Inspect Your Mold Before First Use
Because our molds are handmade and made to order, please contact us with any questions or concerns before casting. Used molds cannot be returned.
Have a question about your mold? Send us a message—we're always happy to help!
At Zapp3D Design, we believe a great finished piece starts with a great mold. That's why we take pride in creating premium silicone molds designed for floral preservation artists, woodworkers, and resin creators.
Our Exclusive Platinum Silicone
Our one-of-a-kind platinum silicone is specially formulated to maintain its glossy finish while delivering exceptional durability and longevity. This unique formulation helps produce beautiful, consistent castings while extending the life of your mold.
Beautiful, Glossy Finishes
Our molds feature smooth, glossy interior surfaces designed to produce stunning, high-gloss resin castings with minimal finishing work.
Thoughtfully Engineered Designs
Every mold is carefully designed and engineered with your finished project in mind. From structural support to ease of demolding, we consider the details that help you achieve the best possible results.
Made by Makers, for Makers
Whether you're a hobbyist or a professional artist, our goal is to provide reliable, high-quality molds that help bring your creative vision to life.
Proudly Handmade, Start to Finish
At Zapp3D Design, we're proud to be fully vertically integrated. From the initial design and tooling to the production of every single silicone mold, the entire process is handled in-house. This gives us complete control over quality, craftsmanship, and consistency.
Made to Order, Just for You
Every mold is individually handcrafted with care and attention to detail. Production times may vary depending on the design, complexity, and current order volume.
Fast Processing & Shipping
Although every mold is handmade, we're proud to ship approximately 80% of orders within 24–48 hours. Some orders may require additional production time, especially during periods of high demand.
Need Your Mold Sooner?
Working on a tight deadline? We'd love to help! Email us at Zapp3Ddesign@gmail.com and we'll do our best to work something out and get your molds to you as quickly as possible.
Shipping & Tracking
Once your order ships, you'll receive a shipping confirmation with tracking information so you can follow your package every step of the way.
Thank You for Supporting Handmade!
We truly appreciate your patience and support. Our goal is simple: deliver a premium, handcrafted mold you'll be excited to create with.