
Menu
-
- Home
- Specialty Shape / Coastal Beach Molds
-
Woodworking Silicone Molds
-
Floral/Preservation Silicone Molds
- 2" & 3" Deep Alphabet Letter Molds
- 3" - 1.5" Deep Picture Frame Molds
- 3" Deep Hexagon Silicone Molds
- 3" Deep Square Molds
- 3" Deep Bookend Molds
- 3" Deep Arch Mold
- 3" Deep Heart Mold
- Deep Gem Molds
- 1.25", 2" & 3" Deep Cross Molds
- Memorials/Remembrance
- 3" Deep Rectangle Silicone Molds
- 3" Deep Large Round & Oval Molds
- 3" Deep Standing Round and Oval Molds
- 3" Deep Rainbow Molds
- 1.25" Deep Charcuterie Board Mold
- 1" - 2" Deep Square Molds
- 1" - 2" Deep Rectangle Molds
- 1" - 2" Deep Round Molds
- Specialty/Holiday
- 1" Deep Coaster Molds
- Paper Weight Molds
- Ornament Molds - Donut & Round
- 1/2" & 3/4" Serving Tray Molds
- Add-Ons/Functional Molds
- Resin Tools & Accessories
-
Arts & Crafts, Trays, Keychains, 3D, and more
-
Eye Candy Pigments
- Promise Epoxy
- Clearance - B Grade
-
- Contact Us
- Login
-
USD
hi
A column with no settings can be used as a spacer
Link to your collections, sales and even external links
Add up to five columns
hi
A column with no settings can be used as a spacer
Link to your collections, sales and even external links
Add up to five columns

How to Preserve Flowers in Resin: A Step-by-Step Guide for Wedding & Memorial Keepsakes
October 30, 2026 4 min read
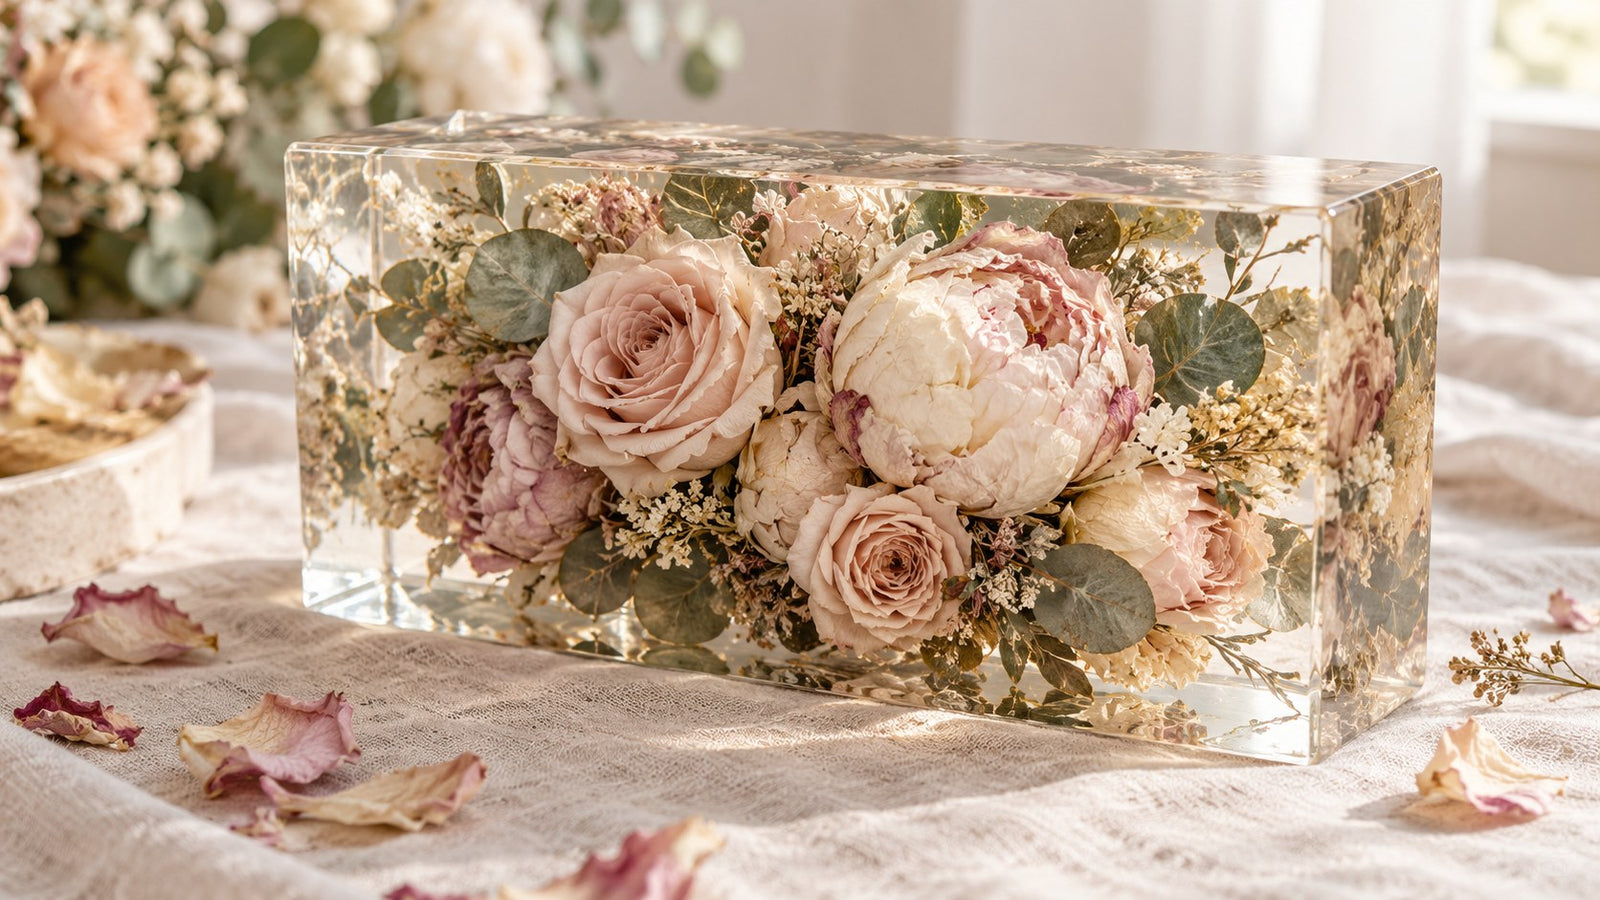
Learning how to preserve flowers in resin is one of the most rewarding projects you can take on. Wedding bouquet preservation and memorial keepsakes turn flowers that mean something into a piece you can keep on a shelf for years. The process takes patience more than anything, and it breaks down into five simple steps: dry, seal, choose a mold, pour in layers, and demold.
Step 1: Dry Your Flowers
Resin and moisture don't mix. Flowers need to be completely dry before they go into a pour, and silica gel is the most common way to get there. Bury the flowers in silica gel in an airtight container and leave them for about 5 to 7 days, which is standard practice.
Fully dry matters because any moisture left in the petals can cloud the resin or cause browning. If you're not sure, give them another day or two. It's better to wait than to risk losing the flowers.
Step 2: Seal Delicate Petals
Dried petals are fragile and thirsty. A thin sealing coat helps protect them and keeps the resin from soaking in and changing how they look. Brush it on lightly, cover the front and back of delicate blooms, and let it dry completely before you move on. Handle everything gently, since dried flowers break easily.
Step 3: Choose the Right Mold
The mold is where your flowers get their home, so depth and shape both matter.
- Wedding bouquets and large arrangements: The Windsor is a 14" x 5.5" x 3" deep rectangle mold with an arched center. It's part of our Heirloom Collection and designed for wedding bouquets, memorial flowers and statement keepsakes.
- Long, elegant pieces: The Kensington is 14" x 3.7" x 3" deep with a long silhouette and softly rounded ends, great for preserved flowers and memorial arrangements.
- Photo and flower keepsakes: our 5x7 picture frame mold is 3" deep and displays a 5" x 7" photo surrounded by preserved flowers. You work with the flowers face up, and one piece of acrylic photo backing is included with every mold. Plan for a minimum pour depth of 1.75 to 2".
- Round and modern looks: our 3" deep hexagon molds run from about 4" up to 12" and beyond.
- Memorial pieces: our deep memorial molds include crosses, rainbows, hearts and angels.
- Everything else: browse the full range of deep square and rectangle molds in 1", 2" and 3" depths.
Our large floral molds have wall stiffeners embedded in the silicone, so the walls don't bow while you pour. The interiors are glossy, which gives your piece a smooth, shiny finish on every side.
Step 4: Pour in Layers
Use a deep-pour epoxy designed for thick casts, and mix it exactly as the manufacturer directs. Pour a first layer and let it reach the stage your resin's instructions call for before you set the flowers. Then place the flowers face down or face up depending on your mold and design, and add more resin in layers rather than all at once.
For bubbles, mix slowly, pour in a thin stream and pop surface bubbles gently as they rise. Keep flowers submerged as you go, since dried petals tend to float. A toothpick or small tool helps nudge them into place.
Step 5: Demold and Finish
Once the resin has fully cured, flex the mold gently and lift your piece out. It releases with no damage, and because the mold interior is glossy, the piece comes out shiny on every side. In most cases there's nothing to sand, polish or touch up. What you pull out is the finished piece.
Common Mistakes to Avoid
- Rushing the drying: flowers that aren't fully dry can cloud or brown in the resin.
- Skipping the seal: unsealed petals can absorb resin and change in appearance.
- Choosing a mold that's too shallow: full blooms need depth, so match the mold to your flowers.
- Pouring everything at once: thick pours in a single go make it harder to control flowers and bubbles.
- Letting flowers touch the walls: leave a little space around the edges so nothing gets pressed against the mold.
FAQ
How long does it take to preserve flowers in resin?
Drying with silica gel takes about 5 to 7 days, and then you'll add pour and cure time based on your resin's instructions. Plan for it to be a project that stretches over a couple of weeks.
Can I use fresh flowers instead of dried ones?
We recommend drying first. Fresh flowers hold moisture, and moisture can cause problems in the resin.
Will the flowers change color over time?
Colors can shift a bit during drying, and some blooms hold color better than others. Drying them fully and sealing them gives you the best chance of keeping them looking their best.
What size mold do I need for a wedding bouquet?
For a full bouquet, look at our 14" x 5.5" x 3" deep Windsor. The 3" depth gives the flowers room, and the long arched shape suits larger arrangements.
Preserving flowers takes a little patience, and the result is something you'll keep for a long time. If you'd like to see everything we make for resin, florals and woodworking in one place, read our complete guide to silicone molds, then pick the mold that fits your flowers.
Leave a comment
Comments will be approved before showing up.
Sign up for new products alerts and discounts!
Sign up below!